08. Taking Care of the Last Few Details
boards, beginner, final phase, corners, turnovers, endsheets, linings 0 Comment
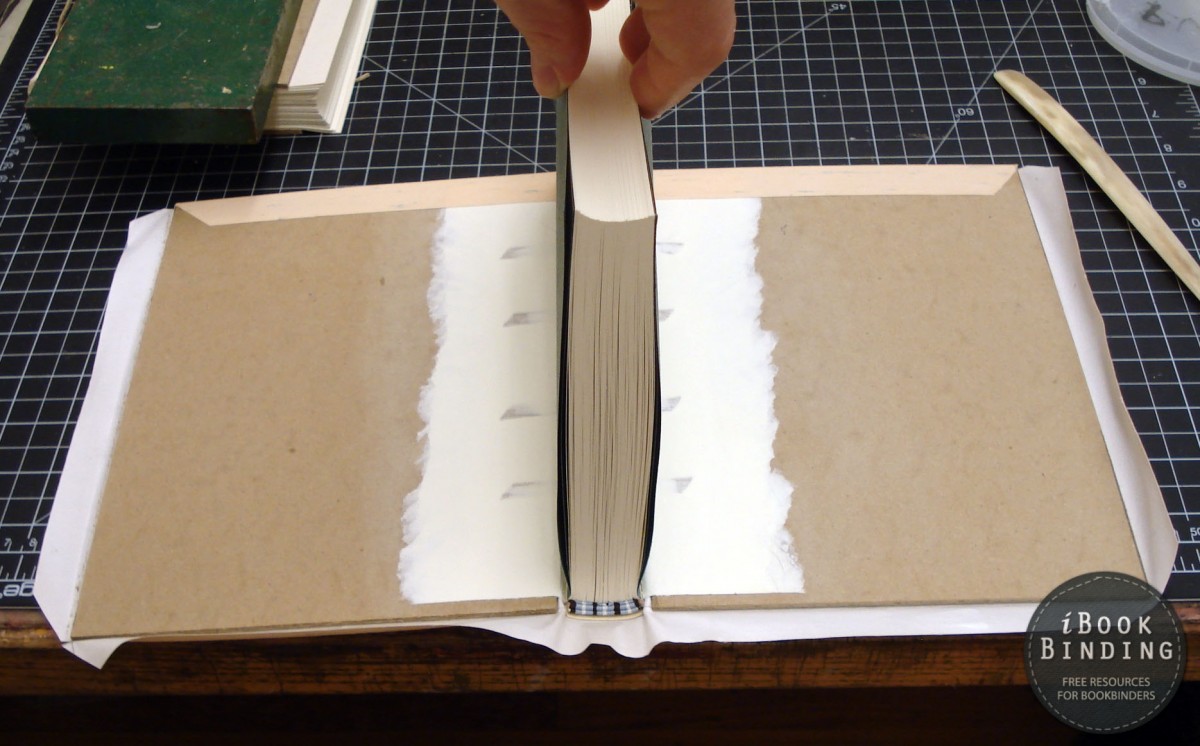
You have now reached the final phase of the bookbinding process that involves mitering the corners, turning the edges of the cover page inside the book, and pasting the end sheets. While you proceed with these steps, make sure that your work is still slightly damp because it would provide you with better results.
Corners
If you miter the cover material and turn it over the corners of the boards, it would produce a neater finish and a more professional look. This means that you have to fold and hem the raw edges of the cover material before you stick them down onto the inside of the board. If you use cloth as a cover material, mitering would also prevent it from raveling.

You would have to turn the top and the side edges inside first. The bottom edges of the cover material are dealt with in the end. When you miter corners, the material doubles up and this thickness can result in a bulge as depicted in figure 83. Place this bulge at the fore edge, and avoid doing it at the bottom edge because that it is where friction is greatest. In case, the material experiences an increased friction, it would just wear off and a blemish would appear in the place.
Mitering corners may sound a bit complicated but if you follow the description given here, you should not have any issues with it. However, you would need sufficient practice with it to achieve that professional look. So, before you actually turn in the corners of your book, try doing the same with rough pages and scratch pieces of cloth onto spare boards that are about 3 inches in width and 4 inches in diameter. Even though you would just be practicing with these boards, it is still important for their corners to form proper right angles because without it, the corners cannot achieve the same proficiency as required.
How to properly wrap a corner video
Don't forget to subscribe to our YouTube channel to get access to HD videos of hundreds of Book Binding tutorials and reviews!

A miter is actually an angle of 45 degrees that is cut beyond the edge of the board at a distance that is more than twice its thickness. An appropriate position for a miter is shown in figure 84. This distance is important because it provides you with extra material from which you will make the hem. You can measure, mark and cut a 45 degree angle every time that you need to form a miter. However, a better approach is to create a mitering jig, which you can use whenever you need to hem the covering material. This way you can avoid taking the same measurements again and again. When you think that your mitered corners have become neat enough, you can move onto mitering the corners of the actual book.

Place your book onto the workbench, and turn open the back cover. Lay the back cover onto a blank board after placing a waxed paper on the surface to provide support. Take a small piece of cardboard paper and insert it inside the cover. Position the mitering jig near the upper corner on the right hand side of the cover board. View through the holes, and line up the lines with the board edges as shown in figure 85. Force the jig firmly into its place, and cut an angle of 45 degrees by sliding a razor or knife against the angled corner of the jig. In this way, cut miters on all the corners of the boards.
[support-website]Turnovers

Now that your miters are cut, place your book in an erect position on a fresh wastepaper sheet. Use an extremely narrow brush to apply paste onto the upper turnover as shown in figure 86. Do not put too much paste or it will just stain the covering material. Also apply a very thin layer of paste onto the edge of the board. In case, you put more amounts of paste than necessary, wipe it off with a clean brush. This is important if you want your covering material to turn over the board edges in a neat manner. With the pasting work done, you can throw off the wastepaper sheet.
Keeping the book in the same standing position, turn the front cover towards yourself and pry open both the front and back covers as illustrated is figure 87. Now hold a folding stick into your other hand and with its needle slide down the cover material behind the back of the signatures such that it passes through the mull slits. Refer to figures 88 and 89 for details. Always turn down this part of the cover material first. It may not be such an easy task, but once again, practice is what you need to achieve proficiency in bookbinding. If you cannot do the job with the folding stick and needle alone, turn and slide down the covering material with your thumbs. See figure 90 to see how this can be done. Ascertain that your paste is still wet because that way it is easier to handle the covering material while ensuring that it gets tuck down neatly.

")


When you have folded inside the covering material at the backbone strip, proceed to turning it around the outer edges as well. Move from the backbone towards the other end, all along turning over the covering material to the other side with your thumb. Figure 91 shows a book in which the covering material has been folded on the inside of the board along the edges.

Now place the book on a flat surface and open either the front or the back cover during a given instant of time. Lay down the cover onto a clean blank board. Rub down the turnovers with a clean piece of cloth; ensure they are tight enough, and no wrinkles or crackles have appeared on both the front and the back surfaces. Your mull and turnovers should be aligned together in a smooth line as illustrated in figure 92. Do the same on the other side of the cover.
Once done with this, you have to paste down the turnovers. Lay your work on a fresh sheet of wastepaper. Open the back cover onto a blank board. Apply only a very small amount of paste onto an extremely thin brush, and insert the brush into one of the corners as shown in figure 93. Please do not have any excess paste on your cover if you want your work to be clean. Press down the cover onto the edge of the board; you can do it with your thumbs and fingers, but a folding needle will do a better job. The same has been demonstrated in figure 94. Using the same thin brush, apply paste on the miter as well as shown in figure 95. Use your folding needle and lift the edge of the miter as shown in figure 96. Fold down the edge such that the formed hem has a uniform width like figure 97 shows. Press the hem flat down on the surface, using the folding needle. This procedure is illustrated in figure 98. Using this very same technique, hem down the other corner as well. Now apply a uniform layer of paste sparingly along the whole upper edge of the turnover as shown in figure 99. Spread out the paste layer right till the edge of the board, and remove all excess paste with a spare brush.


")


Take the turnover in your hand and firmly fold it over the board’s edge with your fingers. Then place your finger at the center of the edge, and pull the turnover tightly against the edge as shown in figure 100. Continue in this same manner in an outward direction until the turnover has been drawn onto the inside of the board. Use a clean cloth and rub down the turnovers well. Firmly iron and press down the miters onto the board with the flat folder, and ensure that they have been firmly affixed onto the surface. If you did everything right, the miters should form an angle of 45 degrees with the inner corners. If the angle is not accurate, you probably did not form neat hems. A perfect hem is shown in figure 101 and a few examples of uneven hems are given in figure 102.


Using the same technique, hem the corners down onto the front over board as well. Take your flat folder and firmly press all four corners to ensure they are in their correct places. Figure 103 demonstrates this procedure. Place clean sheets of waxed paper both inside the covers and onto them. Press your work down with weights and leave for about 12 hours.
Endsheets
The endsheets are the first and the last pages of the book that are pasted onto the inside of the covers to conceal the hem, the mull, the tapes and the bare backs of the cover. Compared to all that you have gone through so far, pasting down the end sheets is relatively easy. Place your book onto the bench, and open the front cover onto a clean spare board. Put a clean sheet of cardboard onto the board’s surface. Turn the first page of your book onto the cardboard sheet and press it down onto the board’s surface as figure 104 shows. If the margins around your hems are not equal, you can trim the endsheets for a neat appearance. Take a steel rule and place it onto the sheet such that it is parallel of the board. Slide a sharp blade onto the endsheet so that the covering material beneath it forms uniform margins. Figure 105 illustrates this technique.


Now is the time to paste the endsheets. Place the endsheets onto two clean sheets of waxed paper. You will require the top one for pasting work, and the bottom one will be used when pressing. Both the sheets of waxed paper should be pushed tightly until there is no space between them and the hinge as shown in figure 106. Take your thin artistic brush and apply paste onto the endsheet. Start doing this from the centre and the move towards the hinge and the edges. At the hinge, apply some extra paste, but the layer along the hinge should still be uniform.

Pick up the endsheet and remove the waxed paper to unveil the clean one below it. Take the edge of the endsheet in one hand and pull it tightly; with your other hand, shut down the cover onto the endsheet as depicted in figure 107. Right after this, open the cover again and inspect the endsheet. It must be smooth, and must not have any wrinkles or air bubbles. If the endsheet has not been pasted down well, pull it loose, and attach it again, but this time, apply a little more pressure to tighten it. If there are only air bubbles, instead of pulling the entire sheet, just detach one of the corners and smoothen out the sheet as you lay it down on the cover again.

Take out a rubbing sheet and place it in your work. With a clean cloth, rub the sheet in a direction from the centre towards the corners. Be especially firm at the hinge and along the outer edges. Ensure that the blank board on which you have supported your cover has a thickness that is at least the same or more than the thickness of the book which you are binding. If this is not so, increase the thickness by inserting additional cardboard sheets between the cover and the blank board as depicted in figure 108.
If the endsheet requires a trimming, you can do it when the paste has dried up a little. Smoothen out the endsheet and remove the creases on edges with your thumb as shown in figure 109. Trim the edges until they become straight and clean. When done, the end sheet must bevel at the top and bottom edge of the board for a neat look as depicted in figure 110.
")
")
In this same manner, paste down the other endsheet as well. After this, place heavy weights onto your work, and leave it for drying.
Board Linings
Board linings are often made of colorful and decorative patterns that are often placed on the inside of the boards for an improved appearance. But you should know that this is not their main purpose. If you remember, the board warping issue was previously discussed. The endsheets are often thin enough, so if linings are pasted down on them, the thickness equals the thickness of the covering material, preventing the cover from warping.

Cut out the linings in a size that is equal to the size of your book. Now trim off the linings about one eight of an inch from the edge that would be near the hinge as illustrated in figure 111. Paste down the linings and once again, leave your work for about 12 hours or so for drying.
Great, you have made sufficient progress till now and would soon become a binding pro. It is time to take a look at a few exemplary projects for practice and guidance.
Please Support us on Patreon!
![]() The minimum level of contribution is only $1 per month.
The minimum level of contribution is only $1 per month.
Moreover, starting with the pledge level of $3, you will get a digitized vintage book about bookbinding, book history, or book arts each month from us!
These pledges help iBookBinding to continue its work and bring more information about bookbinding and book arts to you!
