09. Bookbinding Projects
tutorial, binding, beginner, Dust Jacket, Folio, Scrapbook, Projects, Finishing 0 Comment
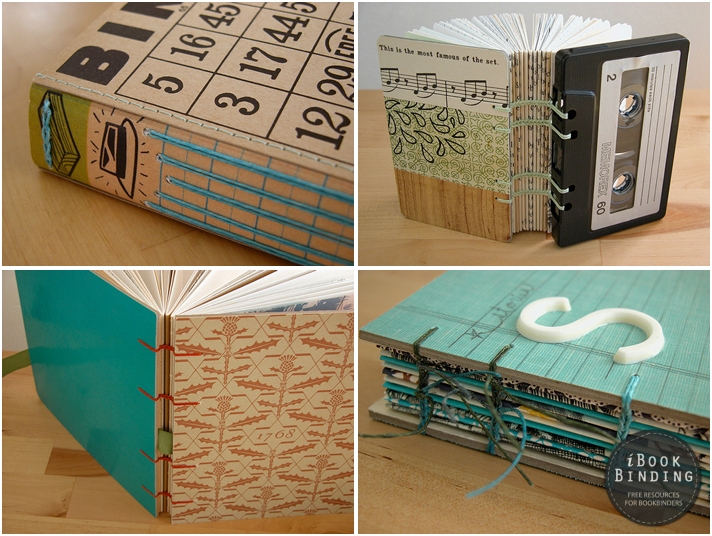
Music Binding
This project would help you in repairing your damaged music sheets, and would allow you to mend the covers and the inside pages of the signatures with new patches of stripped paper. Inspect the original cover of your binding; if it is completely spoilt, cut off the portion with the title and other information on it. Paste these as labels onto a brand new cover material as shown in figure 165.
Select a thin and durable paper (a good read about paper selection here, PDF Document) that is similar to the music sheets; try to match both the color and texture. Use this paper for cutting out guard strips that are about three fourth of an inch in width and are almost three inches longer than the original music sheet. Open up your music sheets in the center and flatten out the pages onto a cardboard surface. Place wastepaper underneath the sheets, and attach the guard strip onto the music sheet as shown in figure 166. Rub the strip to remove air bubbles. Take a steel ruler and knife, and trim the strip down until its length equals the height of the music sheet. Figure 167 shows this procedure.


Turn the page of the music sheet, and put guard strips onto this side as well. Doing the same procedure on both sides makes sewing stronger without letting the thread tear apart the paper. Now put guard strips on all other music sheets, but do this on the inner side only.
For all you musicians out there, here’s a quick and dirty way to tape your sheet music if you don’t have the time to re-bind.
Don't forget to subscribe to our YouTube channel to get access to HD videos of hundreds of Book Binding tutorials and reviews!
If your corners are torn apart as shown in figure 168, you can mend them up by attaching paper pieces on them that have a size greater than the actual region of damage. Figure 169 shows a paper patch that covers a torn up portion. The paper piece must extend beyond the corner of the music sheet. Paste this piece of paper onto the music sheet; then trim down the extended part until it aligns up with the corners of the actual sheet, forming a proper right angle. This is illustrated in figure 170.


Cut a mull for the signature that has a width of two inches and a height shorter by an inch of the height of the signature. Place the signature on a piercing board and lay the mull on it such that it occupies the exact centre on the hinge with equal spaces on both sides as shown in figure 171. Pierce the signature and sew it through the holes.

Make the cover boards and round off the edges with sandpaper. Their width must be less than one fourth of an inch for the hinge as depicted in figure 172. Paste the mull onto the boards while ensuring that the edges of the board and signatures are in proper alignment. Leave your work for drying.
Cut out a cloth that is 3 inches wide and about an inch longer than the cover board’s height; this will be used for covering the backbone. Apply paste onto the cloth, and place it onto the folded edge of the signature such that it hangs down equally on both sides as illustrated in figure 173. Press the cloth down firmly.
Hold the book in a standing position and tuck the cloth overhang over the edge of the board onto the inner side as shown in figure 174; do this with your folding needle. Cut out side panels from paper of appropriate size. When these panels are pasted, they should overlap the covering material, and cover about one eight of an inch of the cloth from the edge; the turnover should have a width of 0.5 inches. See figure 175 for guidance.


Attach the side panels, and ensure that the turnovers are firmly pasted down. Leave your work for about an hour. Now paste the end sheets, and let the music binding dry for about 12 hours under heavy weights.
Though trying out the projects in this chapter is by no means mandatory, you should still do it. They are really useful items that you can make good use of, and would give you the practice which bookbinding requires, letting you master your skills and turning into a pro binder.
Additional Resources
- Repairing Old Sheet Music by Violinist.com (Discussion in Comments)
- Repairs and Conservation of Scores and Sheet Music
- Music Sheet Repair (forum discussion) – Library Thing
Please Support us on Patreon!
![]() The minimum level of contribution is only $1 per month.
The minimum level of contribution is only $1 per month.
Moreover, starting with the pledge level of $3, you will get a digitized vintage book about bookbinding, book history, or book arts each month from us!
These pledges help iBookBinding to continue its work and bring more information about bookbinding and book arts to you!
