04. Folding the Sheets
tutorial, Folding, Signature Fold, French Fold, Single Fold 0 Comment
The previous chapter discussed the major parts of a bookbinding process. These are all the things that lie at the surface. If you unearth more and go deeper, you would realize that bookbinding is a lot more than just cutting and pasting things together. You have to sew the hinges, prepare the mull and even decorate the cover for a nicer appearance.
Read this chapter for a closer look at the technical details that are involved and ways in which they can be handled. You’ll have to choose some suitable bookbinding paper, after which, you can get to work folding the sheets.
Folding the Sheets

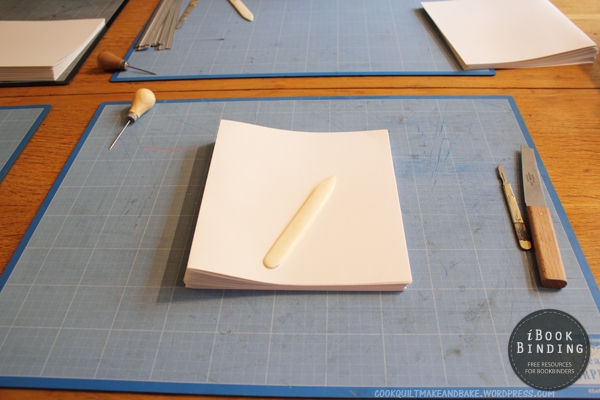
The folding task is pretty simple and straightforward, but you have to do it with great care, which may turn things a bit complex. However, if you know what to do, you would be able to pull yourself through. Folding is the main element of a strong binding because the actual sewing is done through the folds. So get this right, and your binding will be strong and flexible.
Align both the edges of the pages together, and press down the upper edge of paper that is towards you. Now start folding the paper from the other side. Use one hand to hold the corners in place; make sure their alignment is proper throughout. With your other hand, fold the bottom side of the paper and press it lightly. You can use a flat folder or bone folder for help with this for cleaner folds.
Single Fold
Before you actually start folding the pages of your book, you should try folding ordinary paper so that you can perfect your hand at the job. Place a sheet of paper on your workbench, and work with the edge that is towards you. Secure one half of the sheet onto the surface; pick up the other end and align it with the paper side that is towards you. Properly align the corners together as depicted in figure 26 and maintain a firm hold on them as shown in figure 27. Slightly start pressing the paper at the fold to create a light crease. Figure 28 shows the same.


Now take a flat folder and use it to form a crease onto the entire surface of the paper. See figure 29 for guidance. Do not put too much pressure on the folder so as to prevent the paper from cockling.
[support-website]Signature Fold

A signature comprises of several pages that have been folded together as a single unit. The number of pages in each signature can vary with the weight and thickness of the paper. The folds that you make should be strong enough to allow a thread to pass through them without the pages getting torn apart. On the other hand, they should also not be thick enough to give the rounded backs of the signatures a bulky and huge appearance. Figure 30 illustrates the effect of thin and thick folds.
When making a signature, it might seem easier to fold several pages individually and then arrange them inside each other. Avoid this approach because it creates several creases that decrease the strength of the binding, and the pages also become loose in just a short time as shown in figure 31. Another disadvantage of this method is that it provides the signatures with sharp back edges to which the mull is attached when several difficulties have been encountered. Therefore, a better way to form a signature is by folding several sheets together so that all of them share the same crease.


Take about four rough pages and align their top and side edges. Lay this page bundle down onto your workbench such that the top edges are towards you. This is shown in figure 32. While holding one side of the sheets firmly so that they do not become misaligned and slip from their respective places, grab the other half of the bundle and roll them onto the other side. The sheets in your hand might now resemble a V as shown in figure 33. Keep your hold firm on these aligned sheets, and start forming the crease with your thumb. Use the flat folder and make the crease heavier without letting the paper cockle.
A bundle of sheet is folded in a same manner as you fold a single sheet. However, this time, you do not have a single page in your hand so you might face trouble in aligning the corners. Still, practice and you would be able to achieve a neat fold every time you roll over the pages.
French Fold
Don't forget to subscribe to our YouTube channel to get access to HD videos of hundreds of Book Binding tutorials and reviews!
A French fold, shown in figure 34, comprises of two folds and increases both the bulk and elegance of single folds. It is often used for binding short items like poems. Give the sheet a single fold, following the same technique described above. Now turn the sheet such that the folded side is towards you. Place the left corner of the sheet on the right corner, and align the upper edges. These are actually the folds you created in the previous step. When you again fold the sheets, a box might also form because the thickness of the paper has increased. This box is illustrated in figure 35. If this happens, take your folding stick, and put it into the box. Now apply some pressure on the stick and flatten out the box in an outward direction until it disappears. See figure 36. Now form the crease and finish the fold using your thumb and the flat folder.


Before you create signatures for your actual binding, conduct several practice sessions with other cheaply available materials like newspaper. Practice the two fold types with single pages and sheets containing different number of pages. Remember practice is the key to achieving neatness in your finished bounded book.
Please Support us on Patreon!
![]() The minimum level of contribution is only $1 per month.
The minimum level of contribution is only $1 per month.
Moreover, starting with the pledge level of $3, you will get a digitized vintage book about bookbinding, book history, or book arts each month from us!
These pledges help iBookBinding to continue its work and bring more information about bookbinding and book arts to you!
