Bookbinding Gluing and Adhesive Tutorials
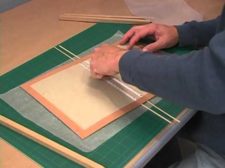
When it comes to bookbinding, one of the most commonly overlooked areas is the gluing process, so we’ve decided to put together a YouTube Playlist of the best book binding related gluing video tutorials we could find.
We would love to know what you think of the videos, please share your thoughts in the comments section below.
** Note that videos shown above and below are works of other bookbinders and not the work of iBookBinding (these will come later…). I would recommend watching all video tutorials as they each demonstrate different techniques and offer helpful tips and advice throughout ***